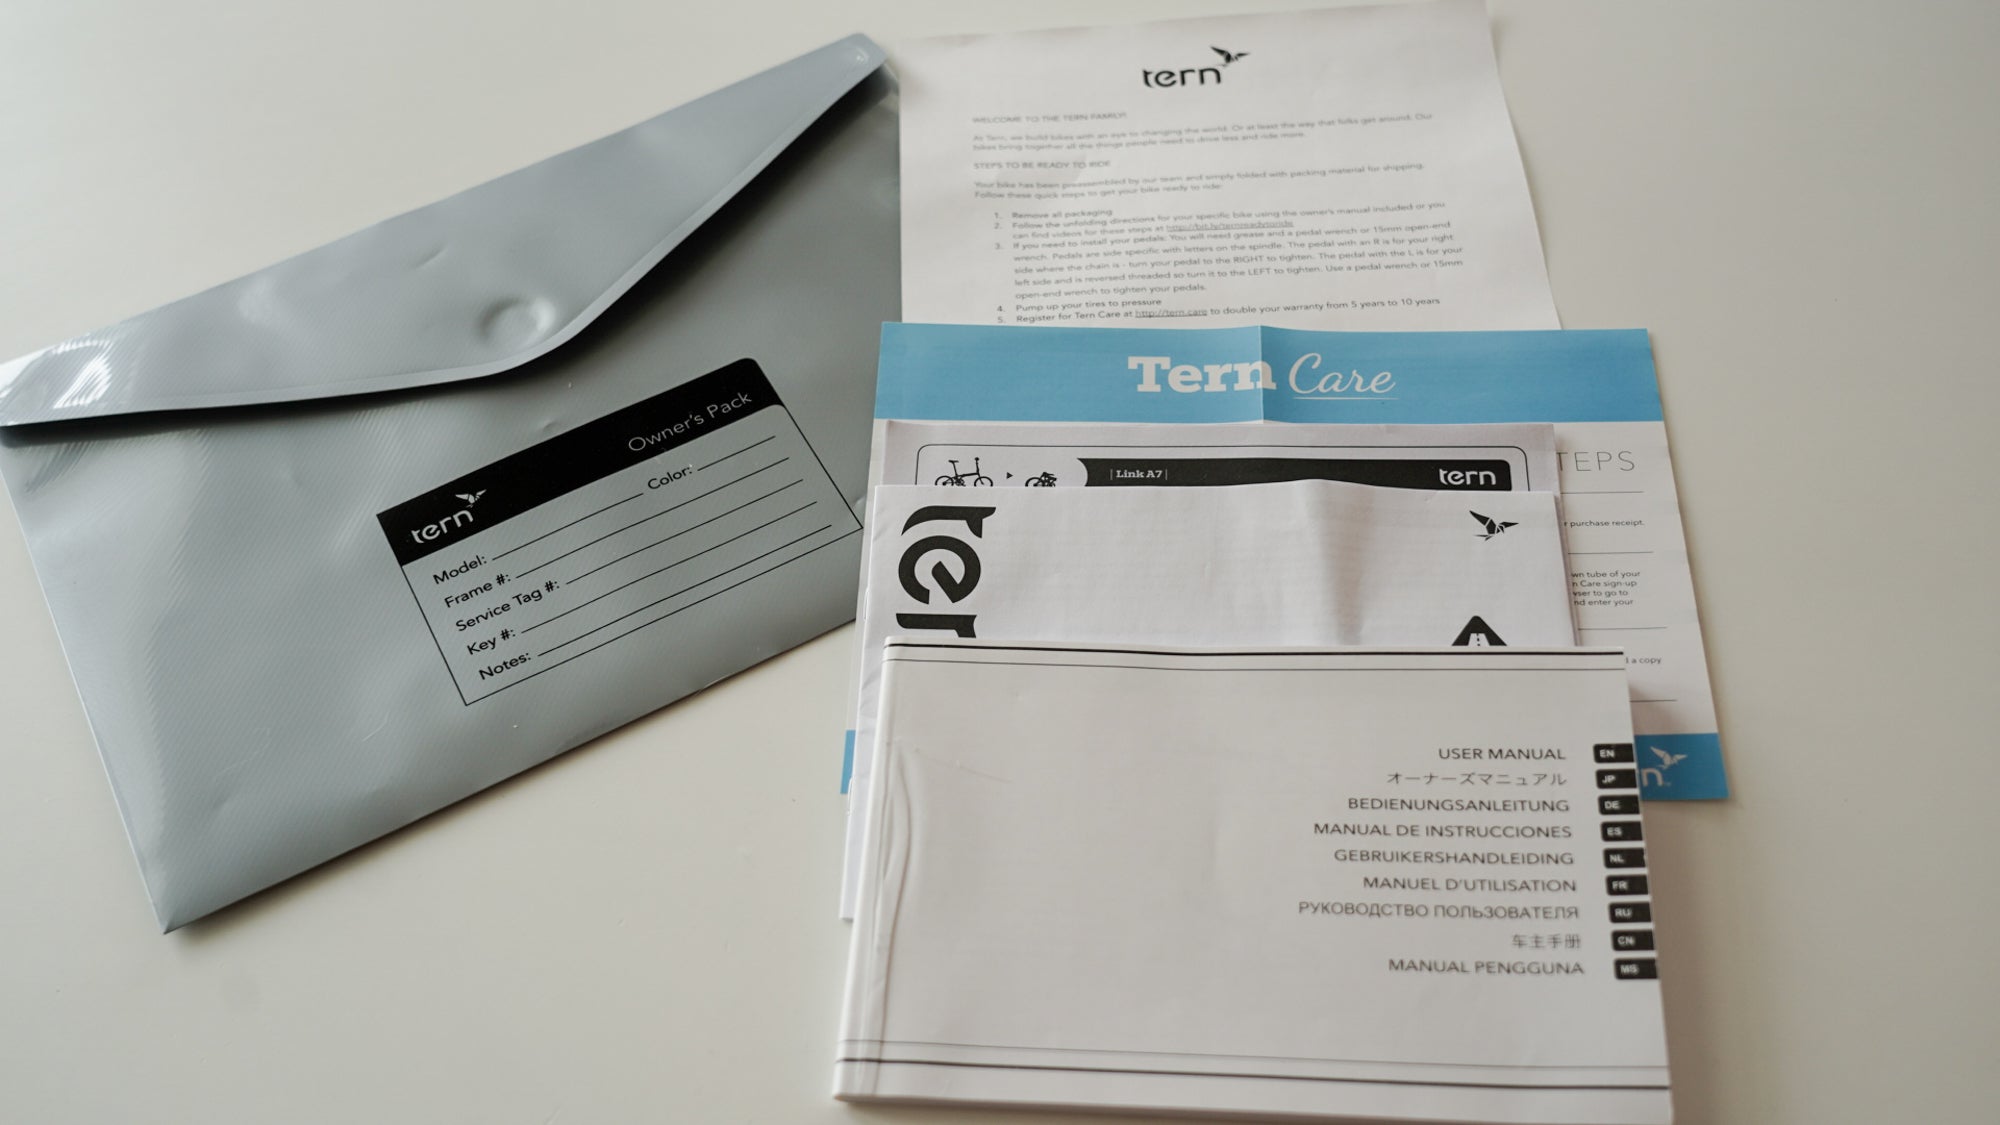
Ready to Ride Instructions
Congratulations on your new bike!
Our service team has prepared your bike to be ready to ride once you unbox it, look below for unboxing and unfolding instructions. Please reply to our email about your bike purchase if you have any questions!
Unboxing
- Take care opening the bike box. If you the box lid was secured with large metal staples, remove these or press them back so they can't catch your hands or clothing.
- Pull your bike out of the box straight up, get assistance if needed.
- Pull off all packaging. Most of our packaging can be recycled or reused.
Unfolding
All of our bikes have been prebuilt and reboxed for our customers. The next steps for you are to simply unfold, attach any pedals or small parts like reflectors. Below are videos for each style of bike. Find yours and follow along!
Link A7 and C8
Unfolding (Eclipse, Link, Node, Swoop & Verge)
BYB Owner Briefing
Installing Pedals
You will need grease and a pedal wrench or 15mm open-end wrench. Pedals are side specific with letters on the spindle. The pedal with an R is for your right side where the chain is - turn your pedal to the RIGHT to tighten. The pedal with the L is for your left side and is reversed threaded so turn it to the LEFT to tighten. Use a pedal wrench or 15mm open-end wrench to tighten your pedals.
Pump Up Your Tires
Tire pressure recommendation is on the side of the tire in a range of PSI.
Register for Tern Care
Register for Tern Care at http://tern.care to double your warranty from 5 years to 10 years